News
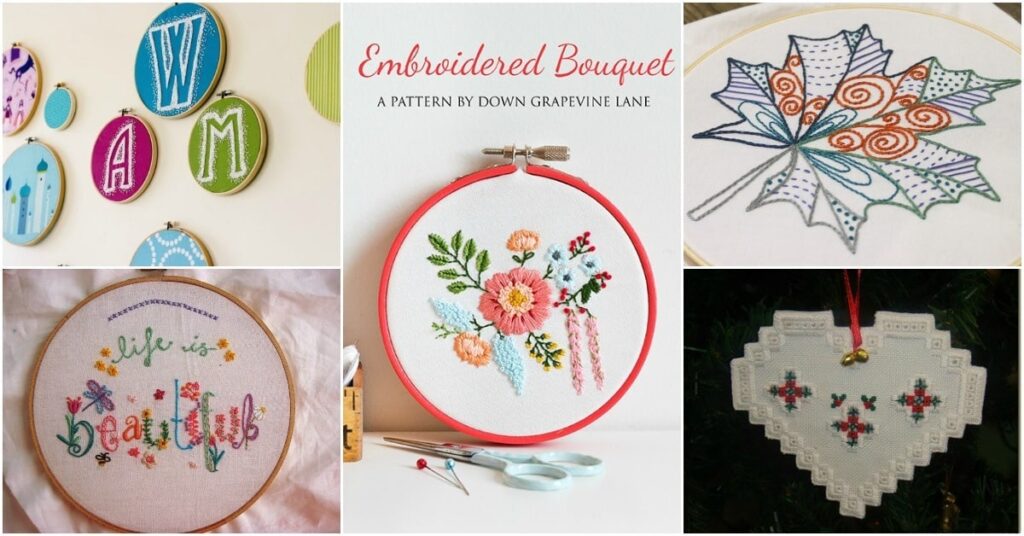
8 Simple DIY Embroidery Projects for Beginners
Embroidery is a timeless art form that allows you to create beautiful designs using just a needle and thread.
With roots in various cultures and centuries of creative tradition, embroidery has evolved into a versatile, relaxing, and highly rewarding hobby.
Whether you’re decorating your home, enhancing your wardrobe, or crafting personalized gifts, embroidery lets you express your creativity in a meaningful way.
If you’re a beginner looking to try your hand at this craft, you’re in luck.
This comprehensive guide introduces you to eight simple DIY embroidery projects that are beginner-friendly and fun to complete.
Each project will help you build confidence, learn new stitches, and produce something you’ll be proud of.
Let’s dive in!
What You’ll Need to Get Started
Before beginning your embroidery journey, make sure you have the following tools and materials:
- Embroidery hoop (4″ to 8″ recommended)
- Embroidery needles (sizes 5–10 are ideal for beginners)
- Embroidery floss in various colors
- Fabric (cotton, linen, or felt)
- Water-soluble fabric pen or chalk pencil
- Sharp fabric scissors
- Design template or pattern
Optional but helpful:
- Fabric stabilizer (especially for stretchy materials)
- Thimble (if working with thick fabric)
- Needle threader
Once your supplies are ready, you can begin your embroidery journey with these eight creative projects.
Project 1: Embroidered Bookmarks
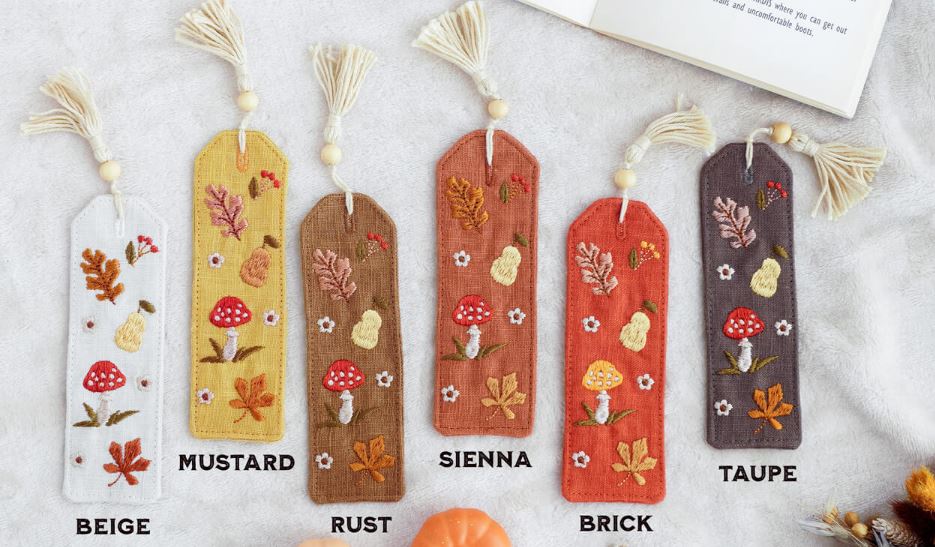
Bookmarks are a fantastic first project because they’re small, quick to finish, and practical.
You’ll also get to practice simple stitches and create something personal.
How-To Steps:
- Use cotton fabric and cut it into a rectangle (around 2″ x 6″).
- Choose a simple design like a heart, flower, or initial.
- Transfer the design using a water-soluble pen.
- Secure the fabric in your hoop and use basic stitches (like backstitch or running stitch) to complete the design.
- Once done, trim the bookmark and finish the edges with a zigzag stitch or felt backing.
Why it’s Great:
- Builds confidence with small-scale embroidery.
- Useful and giftable.
- Quick to finish in under an hour.
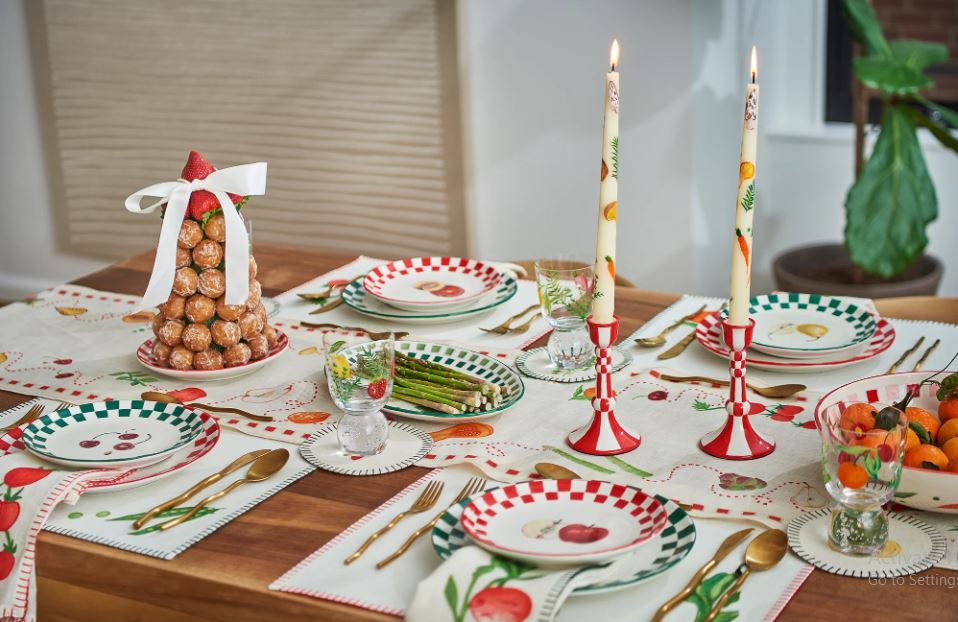
Project 2: Embroidered Coasters
Adding embroidered coasters to your living space is both stylish and useful.
Felt is the perfect base because it doesn’t fray and provides a sturdy surface.
How-To Steps:
- Cut felt into 4″ x 4″ squares.
- Draw a geometric or floral pattern in the center.
- Use stitches like chain stitch, satin stitch, or backstitch to decorate.
- Layer a backing felt square behind and sew the edges with blanket stitch.
Why it’s Great:
- Felt is beginner-friendly and easy to manage.
- Great practice for neatness and consistency.
- Adds charm to coffee tables and dining spaces.
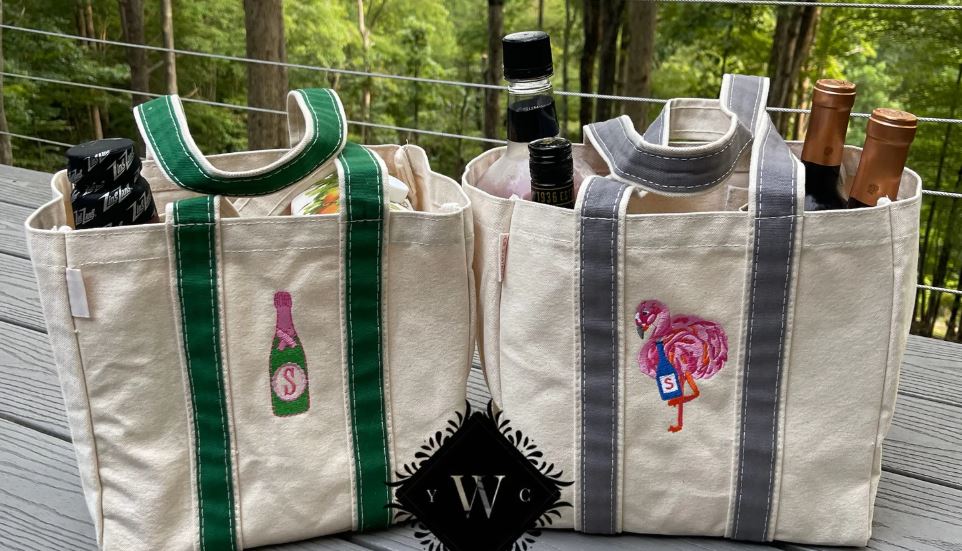
Project 3: Personalized Tote Bags
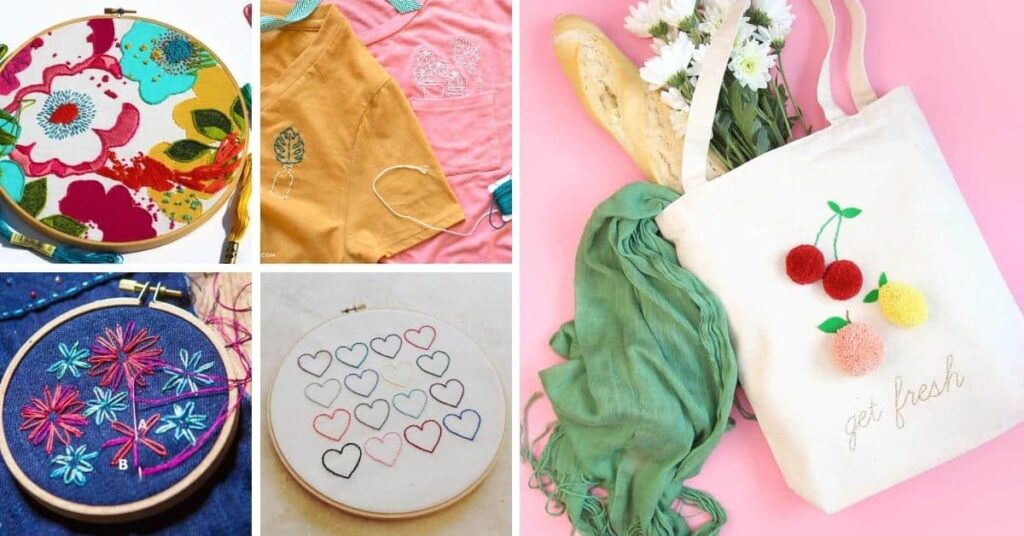
Tote bags are a perfect canvas for expressing creativity and making practical fashion statements.
How-To Steps:
- Use a plain canvas tote bag.
- Choose a short quote, a symbol, or floral elements to embroider.
- Transfer your design and use a hoop to keep fabric taut.
- Backstitch, stem stitch, and satin stitch work well on canvas.
- Once done, tie off your threads securely and trim excess.
Why it’s Great:
- Makes a fashion statement.
- Useful for groceries, books, or everyday errands.
- Customizable for holidays, events, or personal style.
Project 4: Embroidered Wall Art
Turn your favorite quote or illustration into handmade art to decorate your space.
How-To Steps:
- Use cotton fabric and stretch it in a hoop.
- Sketch your design lightly with a pencil or use transfer paper.
- Embroider the design with a mix of stitches.
- Once complete, trim and secure the edges of the fabric at the back of the hoop.
- Hang your hoop as-is or mount it in a frame.
Why it’s Great:
- Offers a wide range of design freedom.
- Showcases your embroidery proudly.
- Perfect for gifts or seasonal home updates.

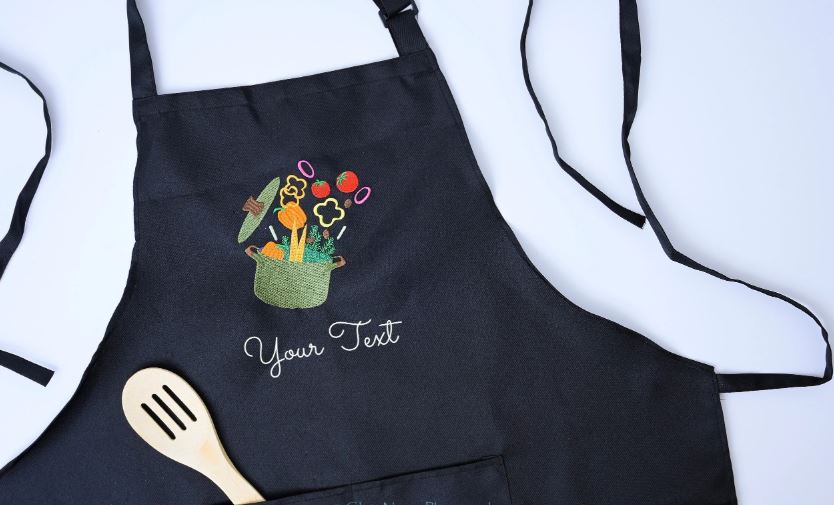
Project 5: Embroidered Aprons
Aprons make cooking more enjoyable, especially when they’re personalized with embroidery.
How-To Steps:
- Choose a plain apron made of cotton or linen.
- Decide on a design: names, kitchen utensils, food items, or a funny quote.
- Transfer your design to the fabric.
- Use outline stitches for text and satin stitches for filled areas.
- Trim threads and press the design lightly with a warm iron.
Why it’s Great:
- Combines function with flair.
- Makes a thoughtful gift for cooking enthusiasts.
- Offers a large surface area to experiment on.
Project 6: Embroidered Pillowcases
Bring a cozy, personal touch to your living room or bedroom with embroidered pillowcases.
How-To Steps:
- Use a soft, solid-colored pillowcase.
- Sketch a design near the edge or center.
- Start with easy motifs like vines, initials, or moon phases.
- Stitch carefully using satin stitch, chain stitch, or French knots.
- Hand wash and air dry after finishing.
Why it’s Great:
- Adds elegance to home décor.
- Teaches placement and alignment.
- Offers a canvas for more detailed embroidery as you progress.

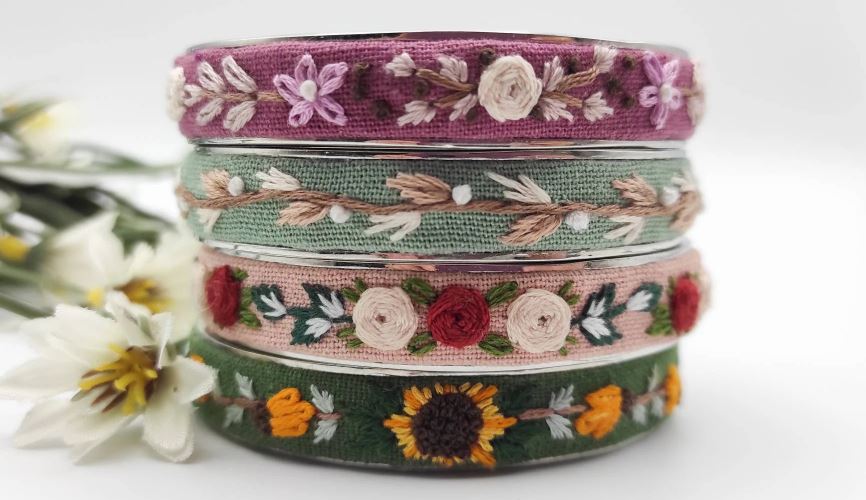
Project 7: Embroidered Bracelets
Fashionable, wearable, and simple—embroidered bracelets are great for beginners who love accessories.
How-To Steps:
- Cut a strip of stiff cotton or canvas.
- Sketch small designs like stars, initials, or abstract lines.
- Embroider with small, neat stitches.
- Back with felt and attach Velcro or snaps.
Why it’s Great:
- Small and manageable.
- Great for gift-making.
- Teaches control and stitch consistency.
Project 8: Embroidered Photo Frames
Turn a plain photo frame into a personal keepsake using embroidery.
How-To Steps:
- Use a wooden or cardboard frame.
- Wrap the frame in fabric and sketch a simple border design.
- Embroider motifs like flowers, dates, or initials.
- Once complete, glue the fabric securely to the frame.
- Insert your favorite photo.
Why it’s Great:
- Combines embroidery with crafting.
- Great for weddings, birthdays, or new baby gifts.
- Doubles as home décor and a conversation piece.

Embroidery Tips for Beginners
- Start small: Avoid overwhelming yourself. Smaller projects are quicker and less intimidating.
- Be patient: Mistakes happen, and they’re part of the learning process.
- Use good lighting: Reduces eye strain and helps with precision.
- Secure your threads: Always knot the beginning and end.
- Practice on scrap fabric: Try out new stitches before using them on your final piece.
Final Thoughts
Embroidery doesn’t require a background in art or sewing—just a willingness to learn and a love for crafting.
These eight projects will help you get comfortable with stitching, give you confidence to experiment, and reward you with beautiful handmade items.
With every hoop you tighten and every stitch you sew, you’re adding more creativity and calm into your life.
So go ahead—pick your favorite project from this list and start stitching today.
Happy embroidering!

